
The Secret to Layering Decor Like a Designer
A simple step-by-step method for creating homes that feel collected, intentional, and effortlessly beautiful.
AFFILIATE DISCLOSURE: This post contains affiliate links. If you purchase through these links, I may earn a small commission at no additional cost to you. I only recommend products I genuinely love or would use in my own designs. This post is not sponsored, and all opinions are my own.
RENDERING DISCLAIMER: The images in this post are digital renderings created to illustrate my original design concepts. They are intended for inspiration and visualization and may not represent exact dimensions, materials, or construction details.See my full Disclosure & Disclaimer Policy for more information.
What Does “Layering” Actually Mean?
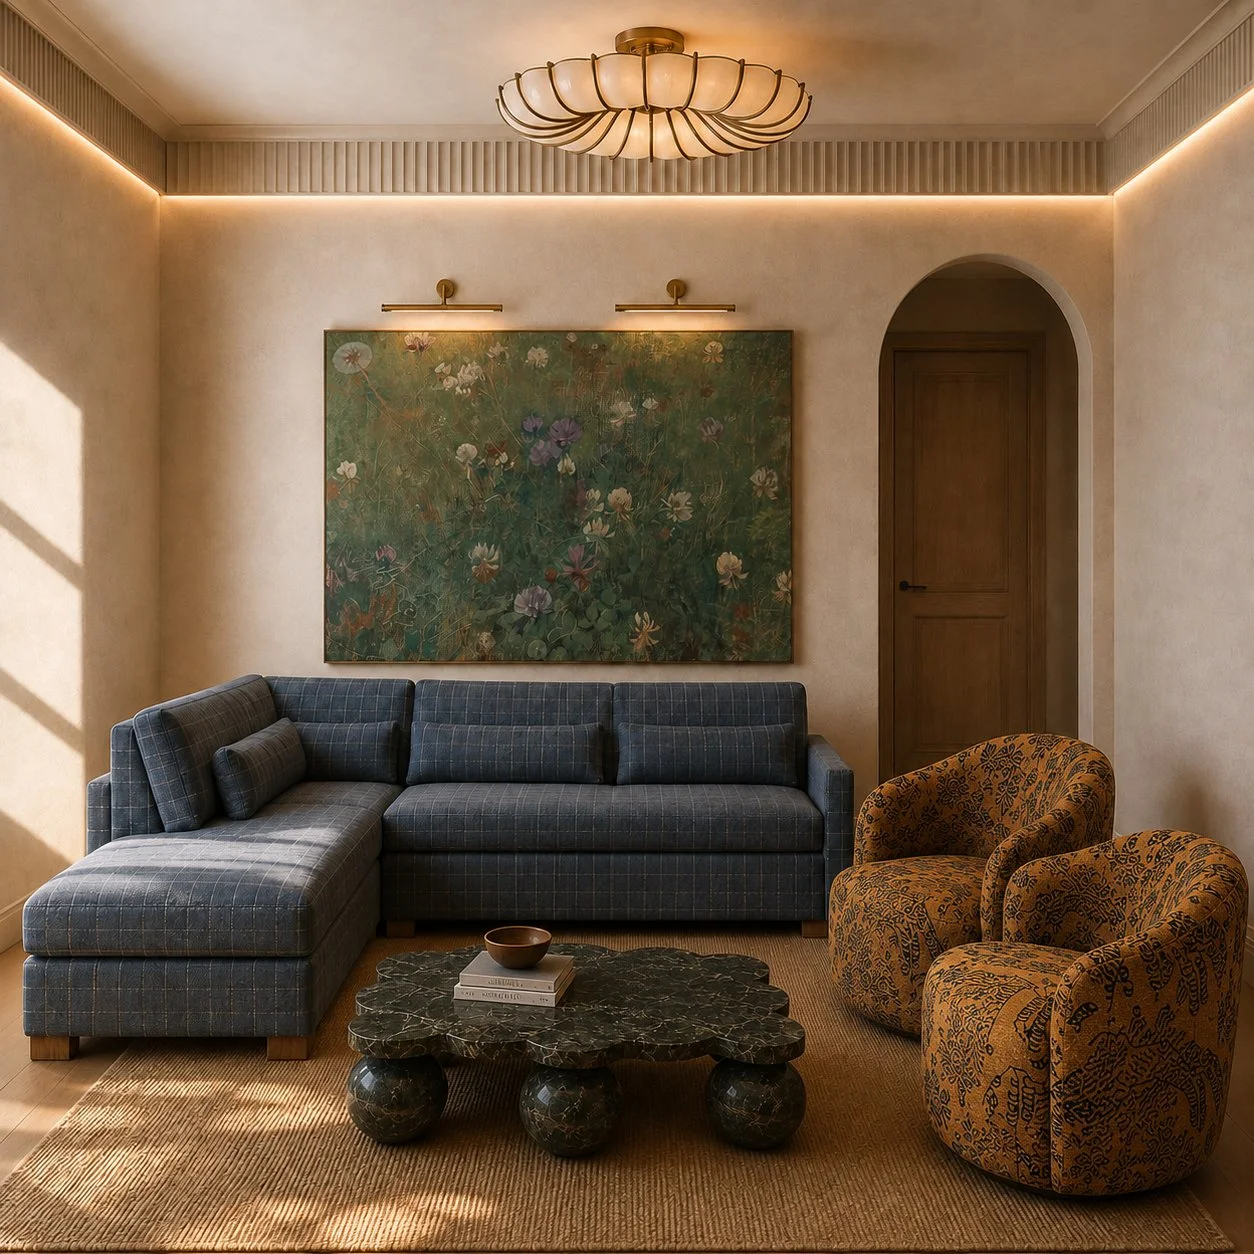
Layering in interior design is the art of combining various elements like textures, colors, and lighting to add depth and make a room feel complete.
This is why you can fully furnish a room and it still feels unfinished, sterile, or cold when you get done. If the design is not intentionally layered, the room may feel less inviting.
The goal when layering your design is to add depth to the design, not just more stuff. The beauty of this is that it can look different for everyone. One person may prefer muted colors and more sleek design while
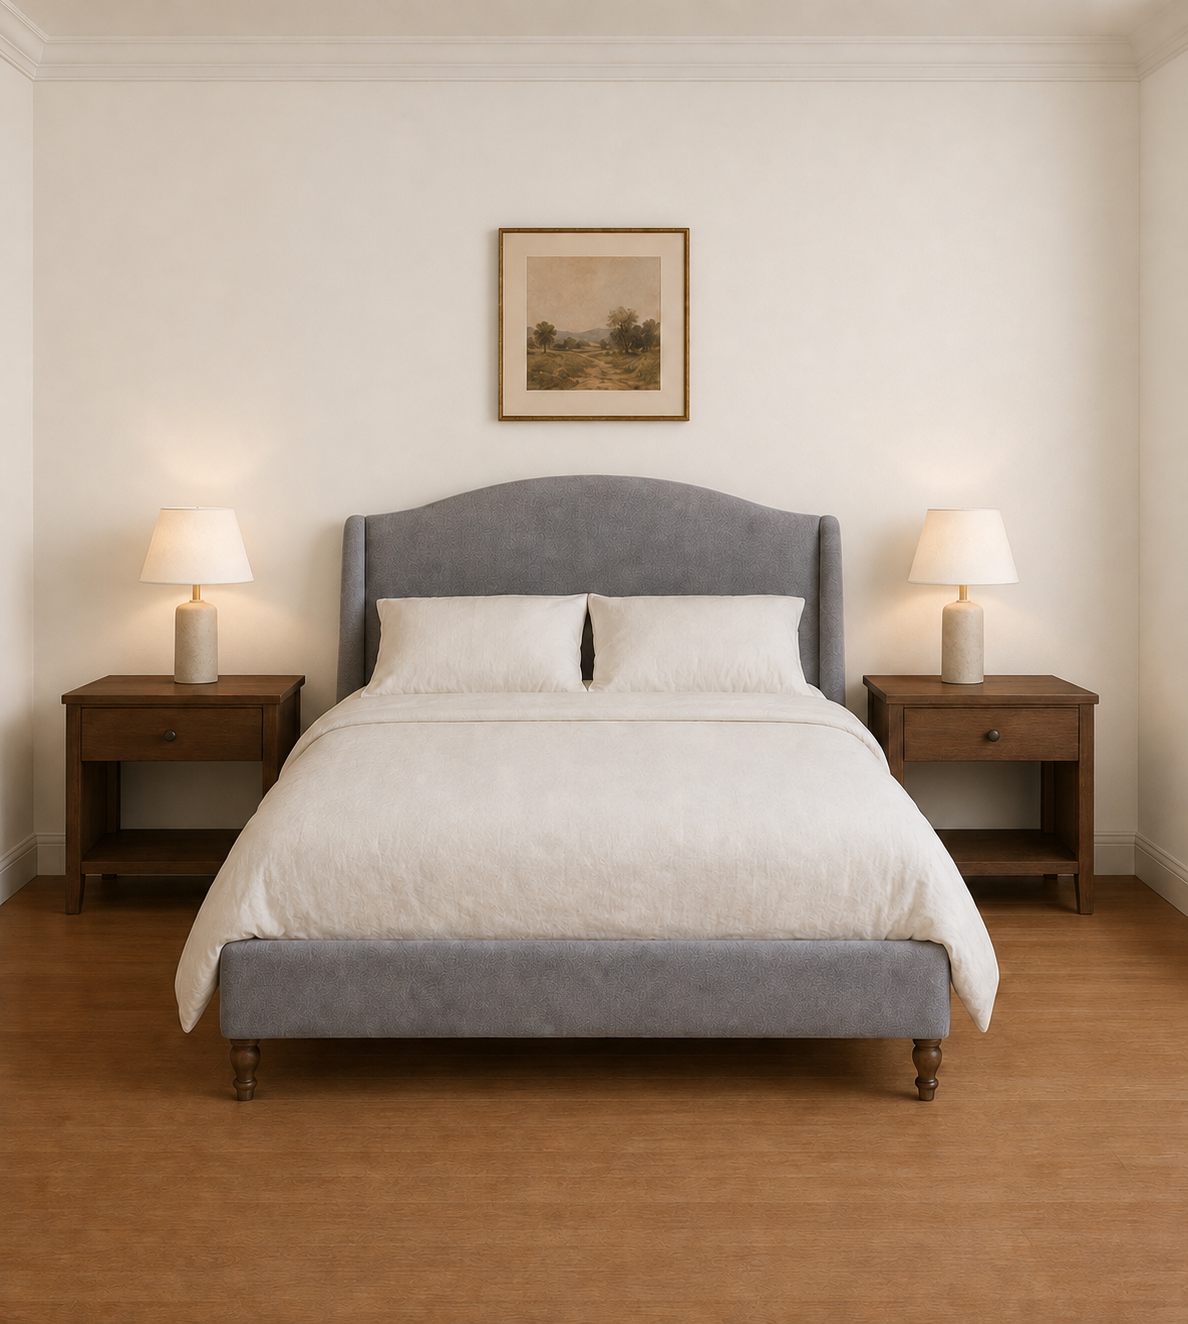
An example of a basic bedroom without “layering”
This is actually not a bad bedroom, but as compared to the image below you can see how things have changed and how layering makes the room feel more finished.
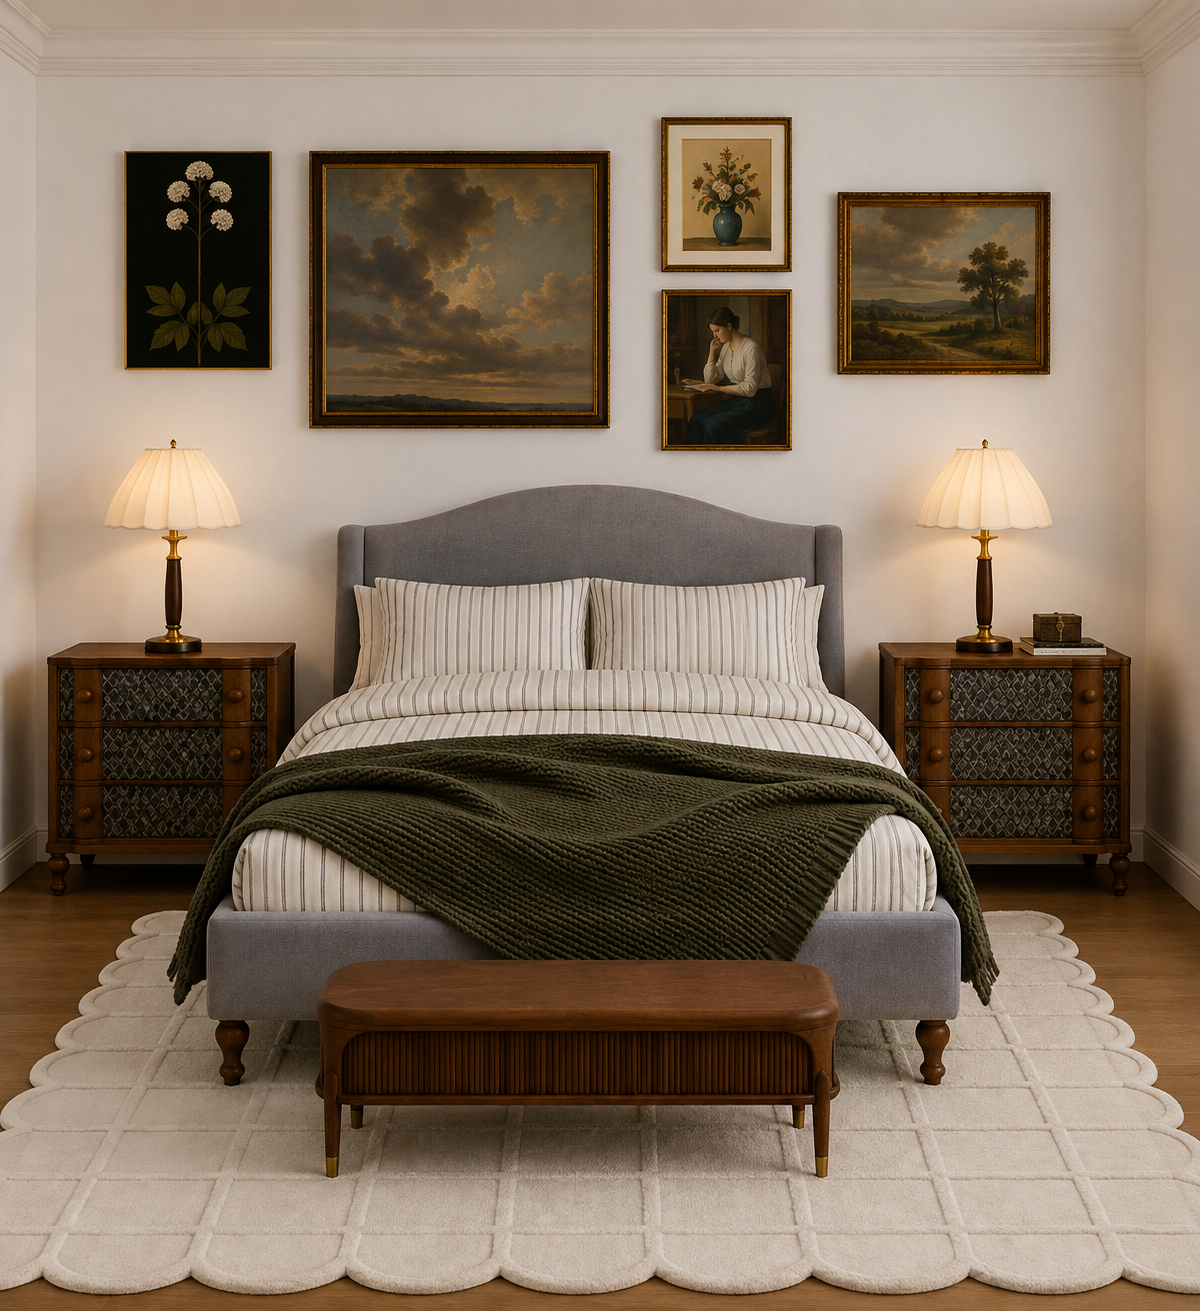
An example of a bedroom where layered design was used.
This image shows the same size room with the same bedframe and the same wall color. The differences lie in the accessories and secondary furniture. It makes a big difference.
Step 1: Start With the Largest Pieces
The largest pieces in each room anchor the room. It is important to take into consideration what is going to take up the most visual space in the room and then go from there.
Sofa
Rug
Coffee table
Dining table
Bed
Some of the most common mistakes when trying to create a cohesive design that feels intentionally layered is buying accessories and small items first and decorating before you have furniture and finishes decided on.
Step 2: Add Secondary Furniture
Secondary furniture is like supporting furniture. It doesn’t take up as much space and it isn’t the “center stage” piece. I have listed some common secondary furniture pieces below, but keep in mind that it really is dependent on your room and the design you are going for.
Accent chairs
Consoles
Benches
Side tables
Bookshelves
Visual Weight:
Think about the visual weight when choosing primary and secondary furniture. Think of visual weight as how heavy something appears to your eyes.
Take a look at the image below. If the chairs I chose were all white instead of white with wood accents, the design would feel more off balance with the darker sofa and darker accent wall on the opposite end. This is a slightly asymmetrical design when it comes to overall balance due to the area behind, but the image would also be more off balance or visually heavy on one side if the entire back wall was accented with fluted wood instead of partially accented.
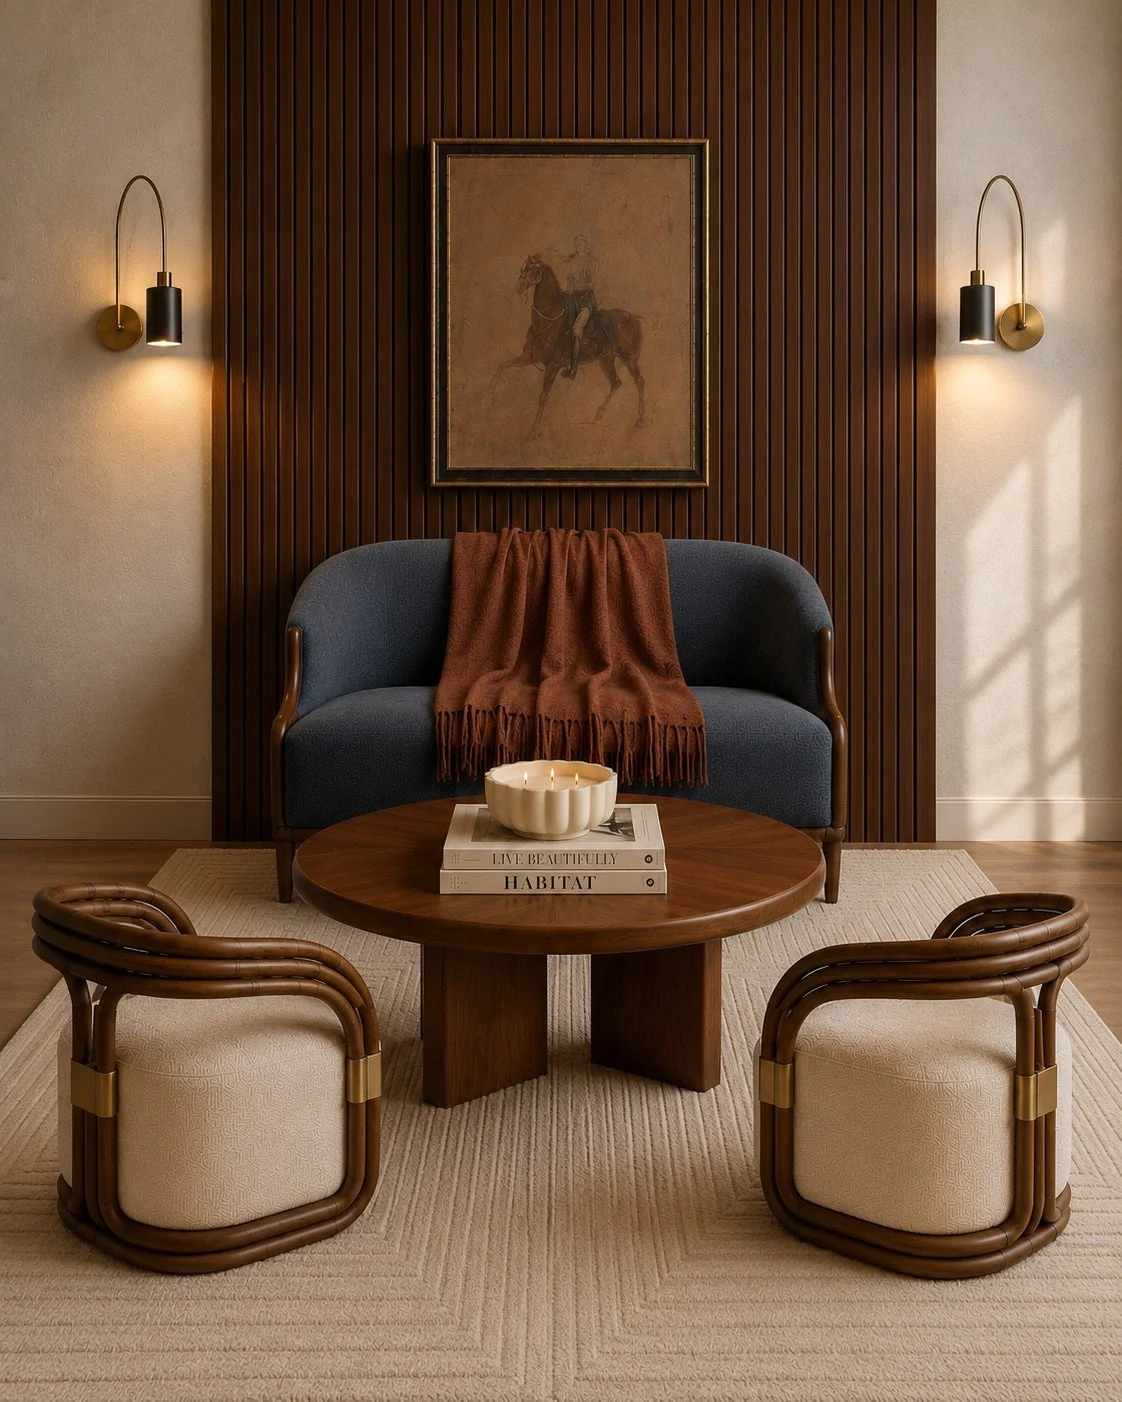
Wood Accents:
A digital rendering showing a sitting area with a blue love seat and accent chairs.
Step 3: Layer Lighting
Layered lighting is a large part of design. It is important to consider what you will be doing in a particular room and how the lighting best needs to support those activities. After deciding on the best lighting to support the space, you can start layering in ambient lighting to better support the atmosphere in the room. This will give you flexibility with the space and allow for a more cozy, inviting environment.
Think about:
Ceiling fixtures
Table lamps
Floor lamps
Sconces
Take a look at the images below to compare layered lighting with standard overhead lighting.
If you are interested in learning more about lighting, I have created a whole post on Unexpected Places To Add Lighting In Your Home
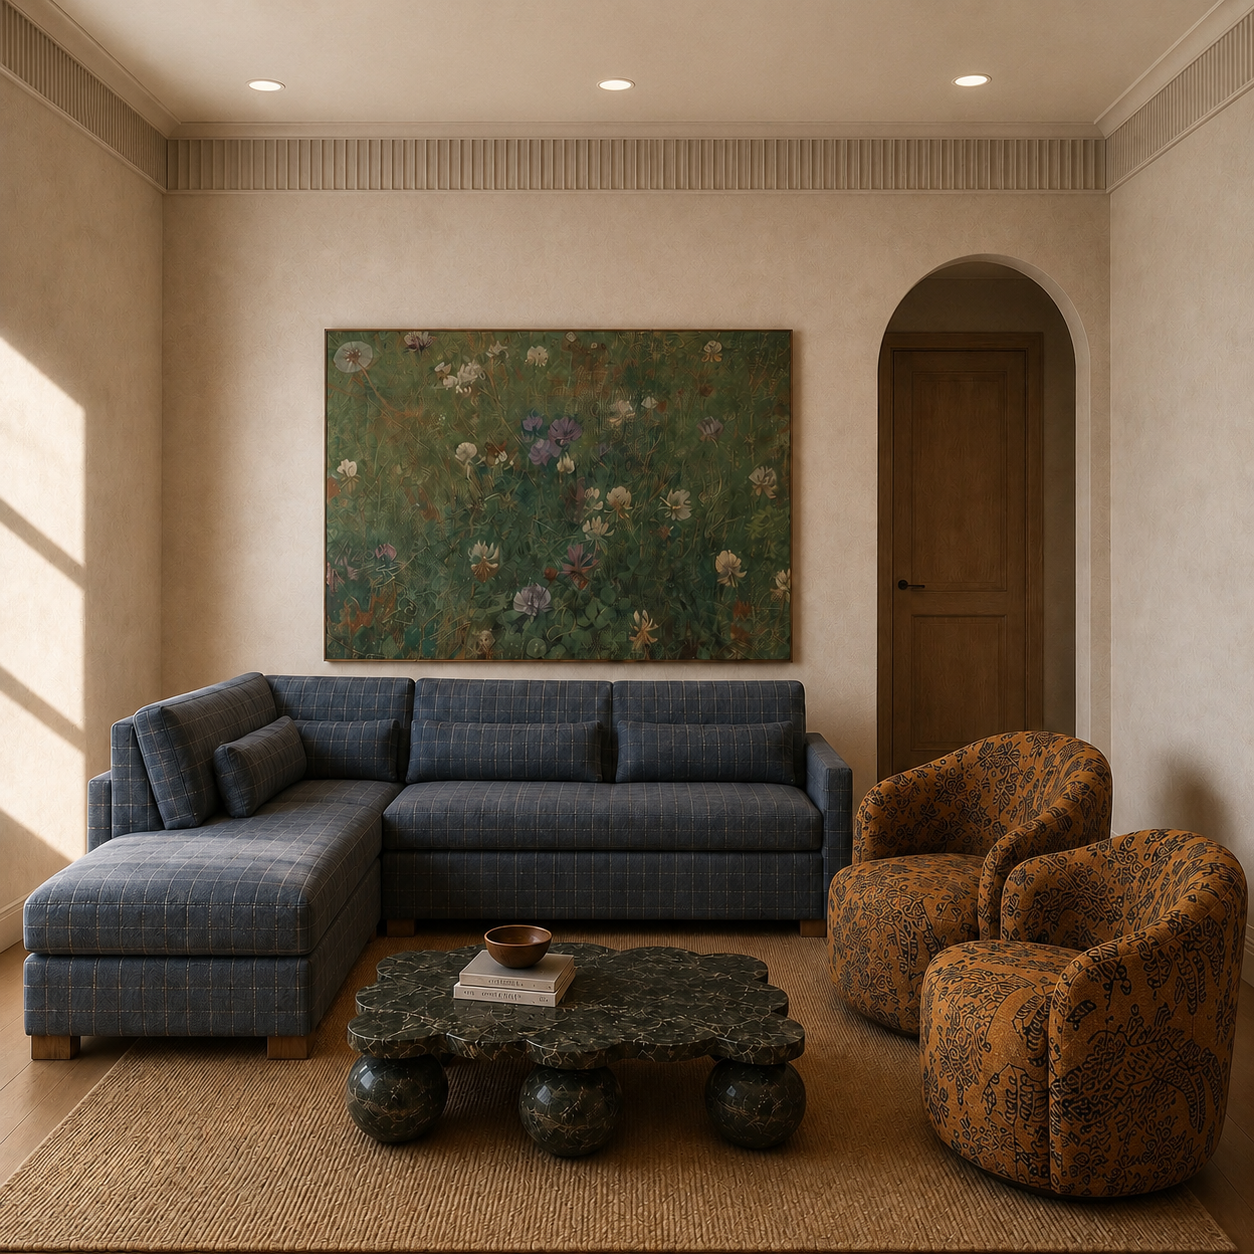
Standard Lighting:
A digital rendering showing a small family room with standard lighting.
Layered Lighting:
A digital rendering showing a fun family room with different levels of lighting throughout.
Step 4: Bring in Textiles & natural materials
Typically, in residential design, textiles will automatically be incorporated into the design through upholstery on furniture. You can take this a step further though by choosing upholstery with unique texture, pattern, or color. Upholstery is probably the most common way to incorporate textiles into a design, but there are several. Some include:
Pillows
Throws
Curtains
Rugs
Upholstered benches and other furnishings
Mixing textiles is a great way to add visual interest to a space, and different textiles have different visual weights.
Linen (light and airy)
Velvet (naturally more heavy weight)
Bouclé (dependent on the color and use, but can bring more visual interest through texture)
Cotton (can be lighter but dependent on pattern and color)
Leather (typically on the heavier side, although it can be used in large applications and not feel overwhelming)
Wool (Usually seen as heavy, but can be lighter visually when used in lighter colors or patterns)
Natural Materials:
Natural materials work really well together and are often used as “neutral textures” in design. For example, if you don’t want white walls everywhere, instead of popping in a dark wall which might feel stark or heavy, you can add some wood tones to the white walls to add interest without overwhelming the eye.
Wood
Stone
Marble
Rattan
Ceramic
Woven baskets
Step 5: Layer Art
Layering art is another way to incorporate different types of visual interest to your space. Some specific ways to do this include:
Large statement art
Gallery walls
Leaning art
Framed photography
Sculptural objects
Tapestries
Step 6: Visual Movement
Visual movement is how your eye travels through a room from one point to the next. Good design intentionally creates a path that feels natural and balanced.
Some things to think about
Line: LInes lead your eye. Some natural examples are ceiling beams, baseboards, railings, furniture edges/ legs, and rug edges or flooring edges.
Contrast: Anywhere you have changes in color tone or texture you are creating contrast and that adds visual interest. I would be careful not to make everything stark contrast. There are definitely layers of comfort to contrast that are important to pay attention to.
Repetition: repeating shapes, textures, natural materials, or colors is going to create a rhythm in your room and naturally help your eye move through the space.
Scale and Proportion: Varying sizes of objects help create hierarchy. This can be especially helpful with small objects or finishing touches.
Focal Points: Think larger elements like fire places, sectionals, etc.
Flow and layout: Furniture arrangement and considering the functionality of the space and how to move about is going to help your eye move through more easily.
Common Layering Mistakes
Examples:
Everything is the same height.
Too many tiny accessories.
Matching every decor item.
Ignoring negative space.
Decorating every surface.
Using only one material.
Forgetting lighting.
Buying everything at one store.
My Favorite Formula for Styling Any Surface
Provide an easy checklist such as:
Start with:
Large anchor object
Add:
Medium-height object
Then:
Organic element
Finish with:
Small decorative accent
Room-by-Room Layering Priorities
Living Room
Seating
Rug
Lighting
Pillows
Coffee table styling
Art
Greenery
Bedroom
Bedding
Nightstands
Lamps
Curtains
Bench
Artwork
Dining Room
Table / Chairs
Rug
Lighting
Centerpiece
Art
Curtains
Designer Tips That Make a Huge Difference
Repeat colors throughout the room.
Mix old and new pieces.
Leave breathing room.
Vary textures more than colors.
Use odd-numbered groupings.
Think in layers from floor to ceiling.
Step back often and edit.
Conclusion
Beautifully layered rooms aren’t created in one shopping trip—they evolve over time. By working from the largest foundational pieces to the smallest personal details, each layer adds warmth, depth, and personality until the space feels complete without feeling cluttered.
